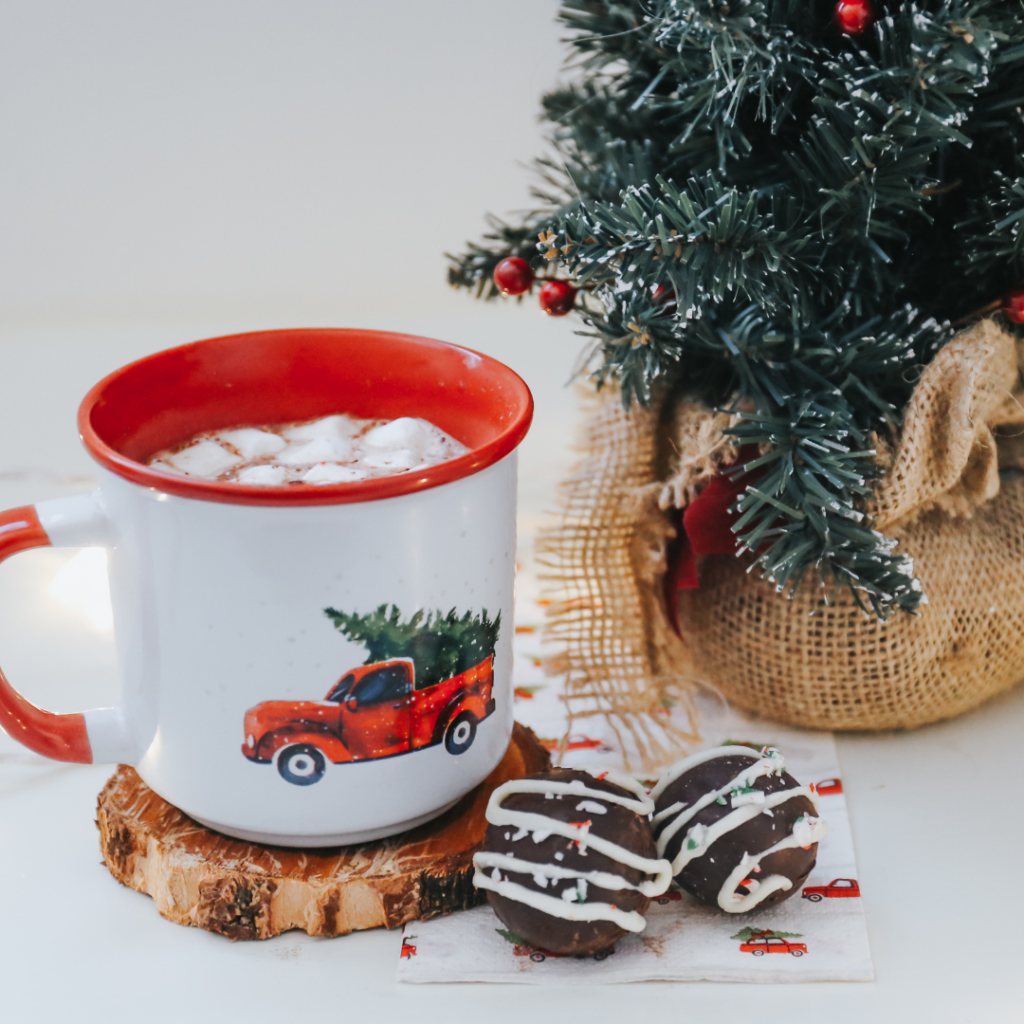
Have you tried the DIY hot chocolate bombs that seem to be all over the internet this year? I thought they were just cute + fun but it turns out they make REALLY good hot chocolate as well!
Here’s a step-by-step guide to make your own DIY hot chocolate bombs!
These would be so fun as part of a gift basket, for a Christmas party, or just while watching your favourite Christmas movie!


WHAT YOU’LL NEED:
- Hot Chocolate Mix (Store-bought or homemade)
- Meltable Chocolate (I used semi-sweet chocolate chips)
- Mini Marshmallows
- Other toppings: Crushed candy canes, caramel sauce, white chocolate sauce, sprinkles, etc
- Silicone Mold
I’ve seen DIY hot chocolate bombs done in a variety of shapes, but the most common is a sphere!
You’ll need a silicone mold to make the shape. I was impatient and didn’t want to the 4-5 days that Amazon said it would take for a proper mold, so I had to make due with what I could find locally!
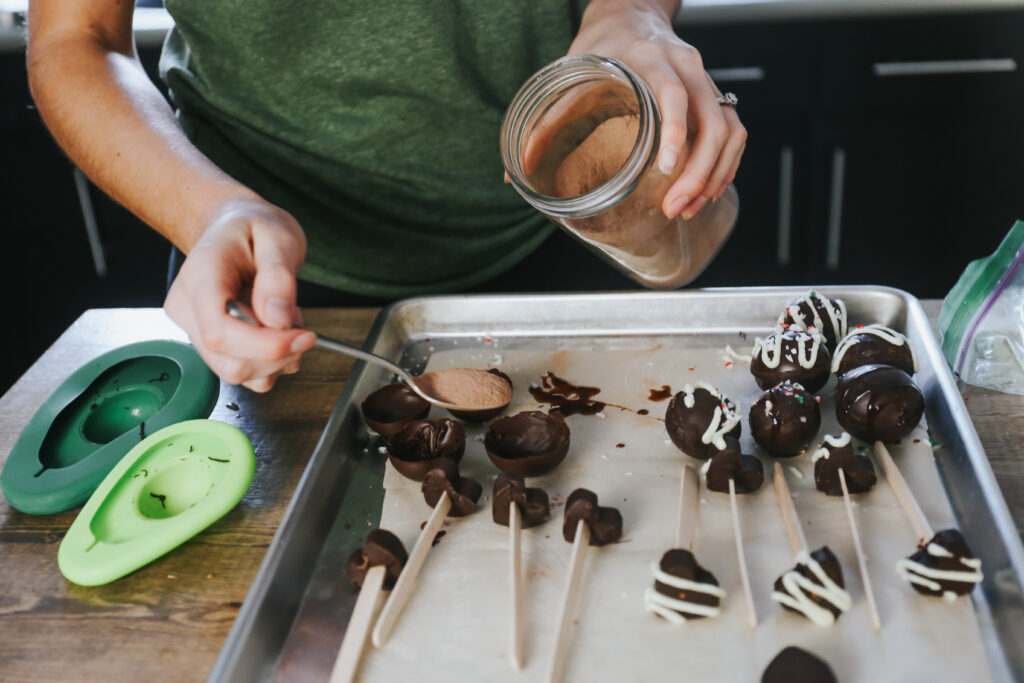
I used these silicone Avocado huggers which worked but I could only make 2 halves at a time so it was a slow process! They are also much smaller than the regular molds, which could be a good or bad thing depending on what you want!
MELT THE CHOCOLATE
You’ll want to do a double broiler method to melt the chocolate. If you have a double broiler pan, great! If not, it’s easy to DIY.
Pour your chocolate chips into a glass bowl (I used a glass measuring cup). Put the bowl in a small sauce pan with 2-3 inches of water. Heat the pan on low-medium on the stove, stirring occassionally.
Once the chocolate has melted, turn the stove off. You can leave the chips in the warm water to keep them melted longer!


FILL THE MOLDS
Spoon enough chocolate into the mold to cover the circle with about 1/8 inch of chocolate. For my small molds this was between 1-2 tbsp of melted chocolate.
Using a spoon or clean popsicle stick, spread the melted chocolate around the mold evenly. Don’t worry about it being perfect, just make sure everything is well covered.

FREEZE THE MOLDS
Put the molds in the freezer for about 10 minutes. If you don’t have space in your freezer, the fridge would also would but would take longer!
You could also throw them outside in the snow if that’s an option for you 😉
Just make sure that the bottoms of the molds aren’t being squished or your circle will be flat on the bottom!
FILL THE MOLDS
Once the molds have solidified, take them out of the freezer and onto a piece of parchment paper.
Fill a small bowl or plate with 1/4 inch of warm water.
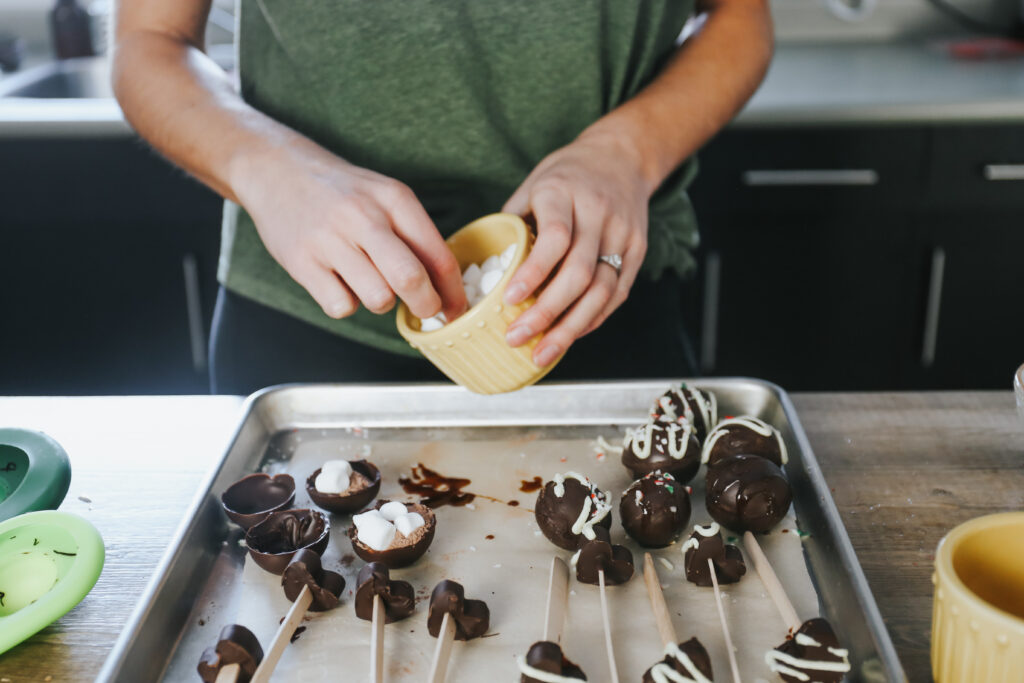
Add hot chocolate powder to one side of the mold. My small circles only held about 1 tbsp of powder, but 2 tbsp is ideal.
Add marshmallows, crushed candy canes or anything else you’d like inside the DIY hot chocolate bomb.
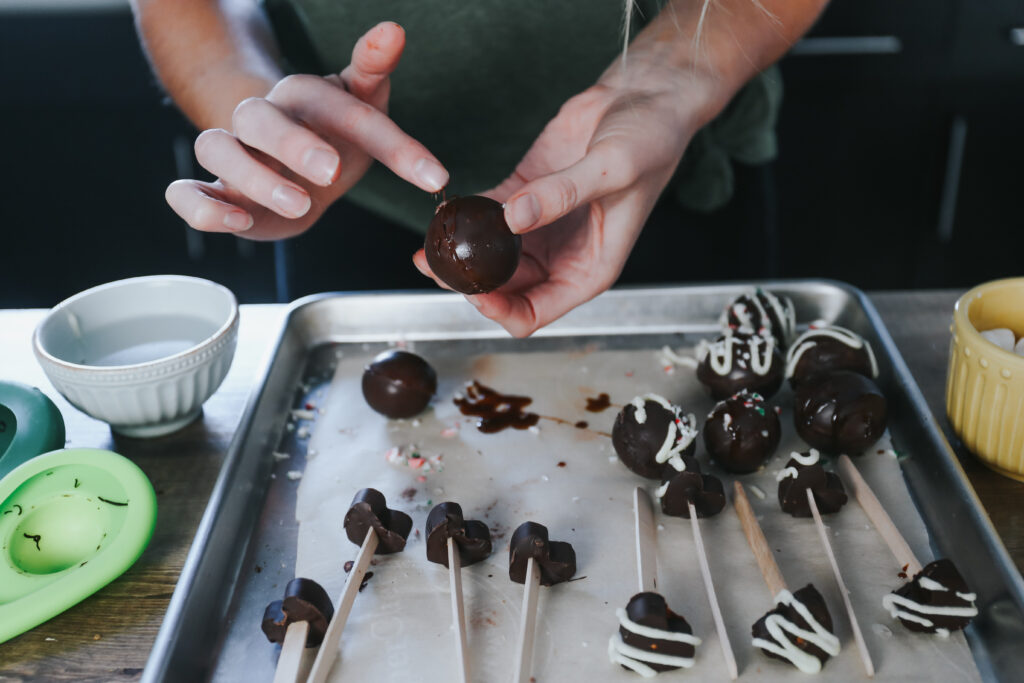
Dip a second empty chocolate half-circle in the warm water. You only want the very edge to be in the water. Hold it there for a few seconds until the edge has melted.
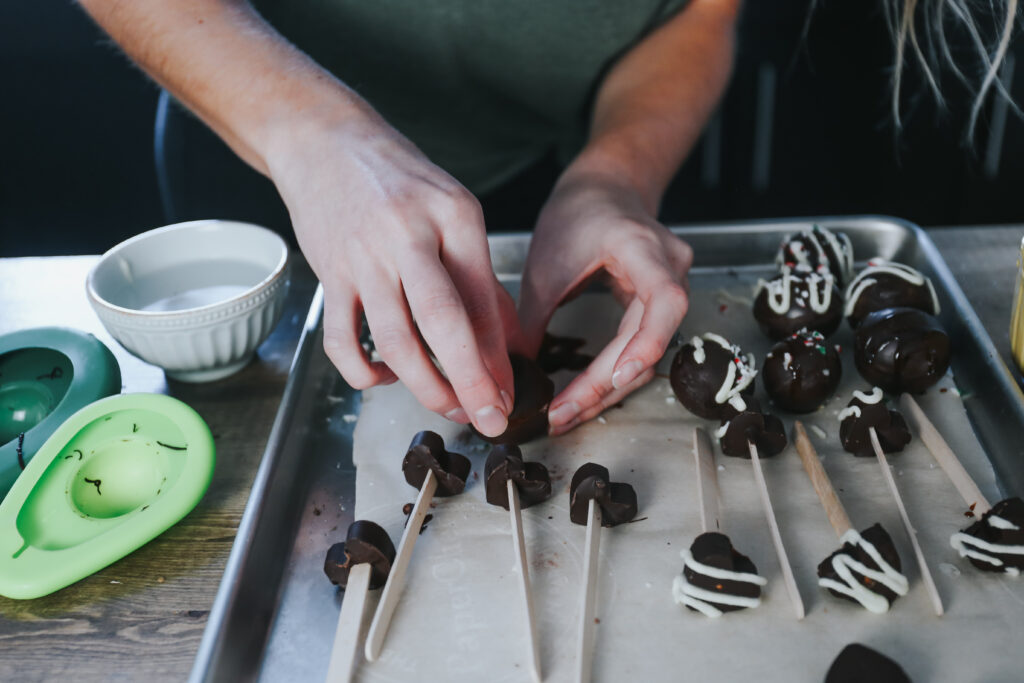
Quickly place on top of the chocolate half-circle you just filled up. The edges should melt together.


SMOOTHING THE SEAMS
If the two halves don’t perfectly melt together (which happened to me more times than not HAHA). Put a small amount of melted chocolate onto the edge of a popsicle stick/knife/your finger and carefully “glue” them together.
Once they are attached, put it back in the freezer on a plate for a few minutes to solidify.
DECORATING YOUR DIY HOT CHOCOLATE BOMBS
After freezing the completed hot chocolate bombs for a few more minutes, you can take them out to decorate!
I drizzled some with salted caramel sauce.
Then I melted some white chocolate chips by putting them in a ziplock and placing the ziplock bag in warm water for 5 minutes. I drizzled this on some of the hot chocolate bombs and then added crushed candy canes on top!


TO SERVE
My favourite way to enjoy these is by heating milk (we used organic whole milk) on the stove.
Once it’s starting to boil, remove from the heat. Put the DIY hot chocolate bomb in a mug and pour the hot milk overtop! Wait a few seconds and you’ll see it “pop” and the contents will come out.
Stir until combined!
Since my hot chocolate bombs were fairly small (and I’m team MASSIVE MUGS LOL), I ended up adding a little bit more hot chocolate + marshmallows to my cup after.
Next time I’ll try with a bigger mold!
You can use your choice of milk for this! Almond, coconut, cashew, skim milk, or even water would all work! The whole milk gave it a creamy, delicious taste that I absolutely recommend!